
A resin print becomes a gallery-grade showpiece when the print, the surface prep and the paint are engineered as one system. Here is how we approach it at 3D Vector, using a finished SLA bust as the example.
Why SLA for a showpiece
Stereolithography (SLA) cures liquid photopolymer resin with a UV laser, one thin layer at a time. The laser spot is small and the layers are thin, so the process resolves features that extrusion-based printing smooths over: individual hair strands, the pores and fine creases of skin, fabric folds and the ribbed corrugation of a hose.
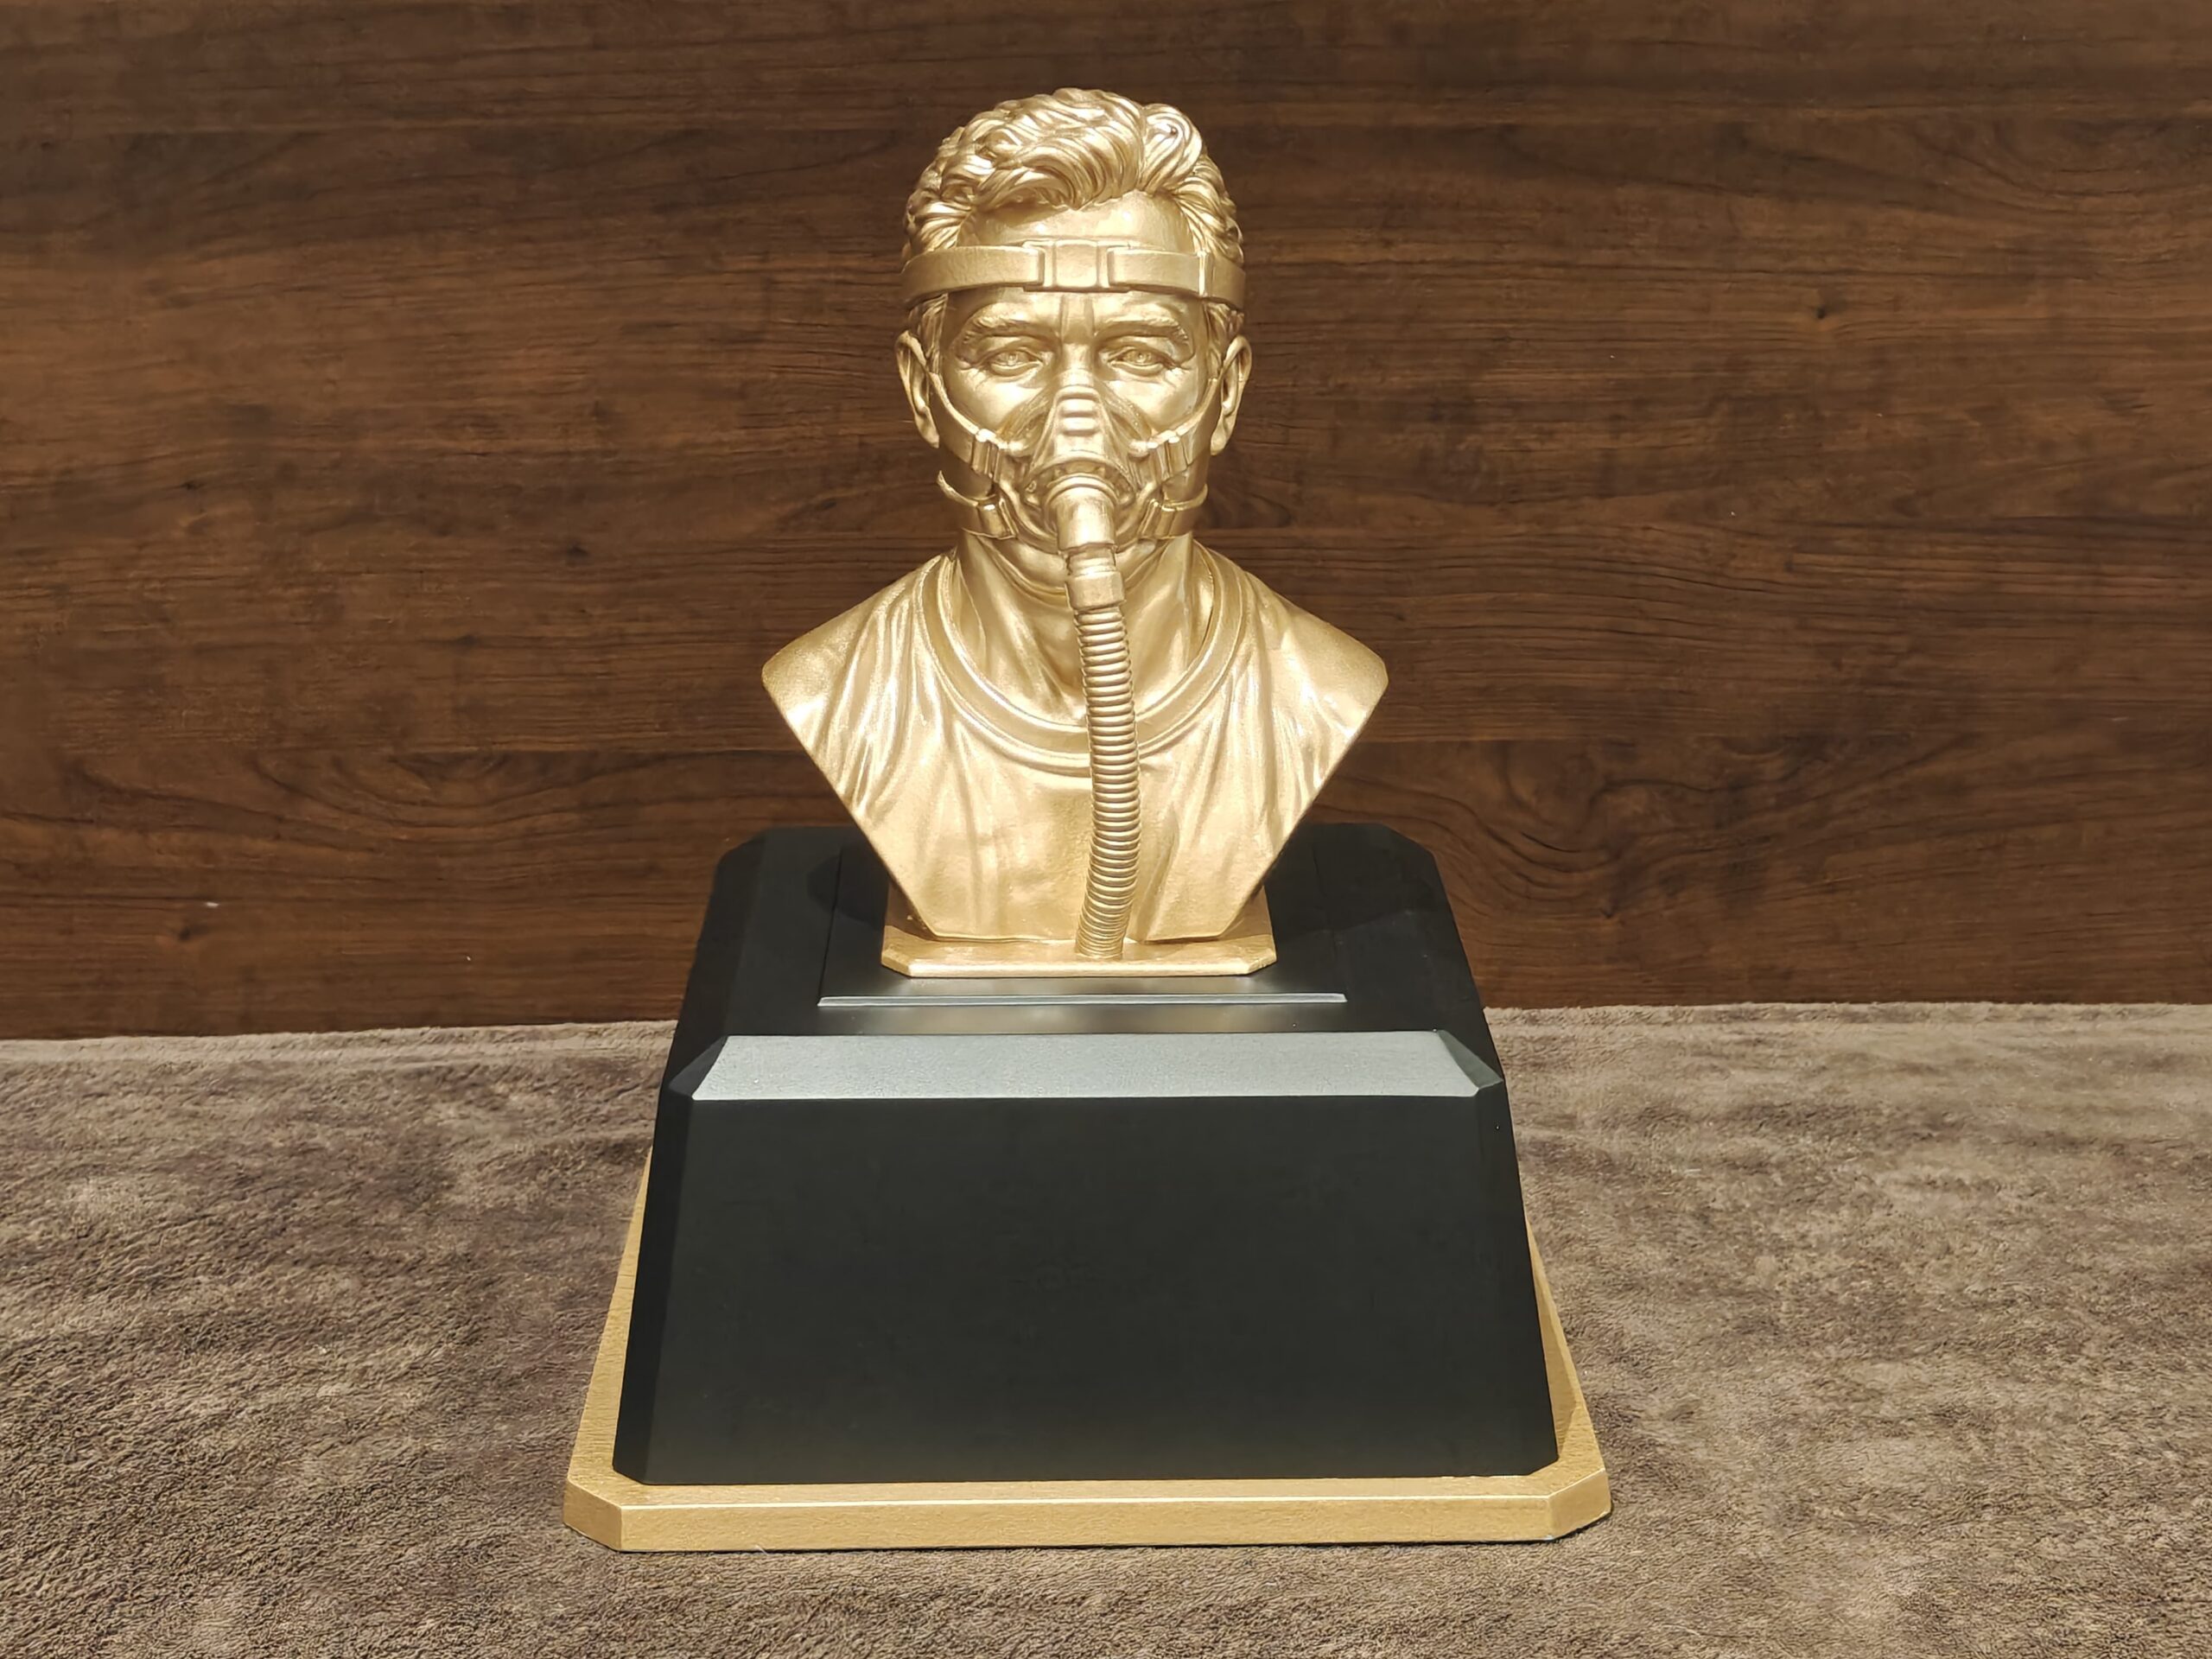
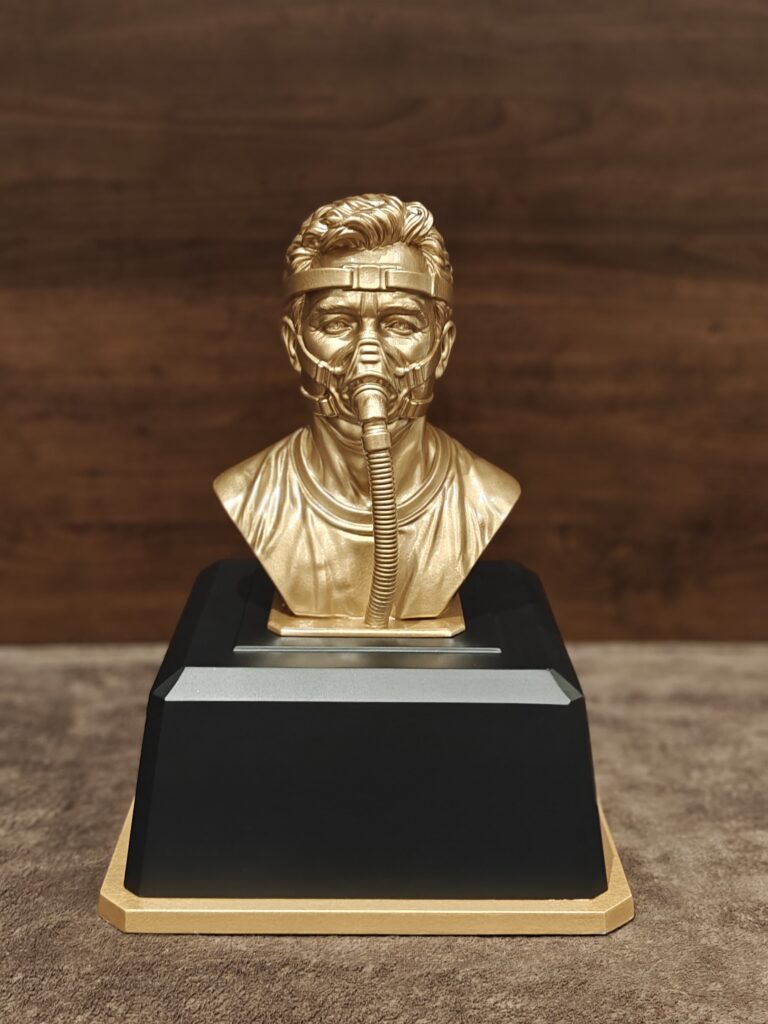
The bust shown here is a good test. It combines organic geometry (a face with expression lines), mechanical geometry (a CPAP-style mask, straps and a corrugated tube) and soft surfaces (a draped T-shirt). Each demands something different from the process, and SLA handles all three in a single build.
The second advantage is surface quality straight off the 3D printer. SLA parts are isotropic enough and smooth enough that sanding is about refinement, not about removing visible layer lines. That matters later, because paint magnifies every surface defect underneath it.
Designing for print
A paint-ready SLA part is decided before the first layer is cured. Four choices do most of the work:
- Orientation. We tilt busts so the face points away from the build plate and the steepest overhangs are spread across the part. This keeps support contact points off the eyes, nose and lips, which are the most scrutinized surfaces.
- Support strategy. Supports go on the back, underside of the shoulders and inside the base footprint wherever possible. Tip diameters are kept small on visible areas so the contact marks sand out quickly.
- Layer height. Fine layers suit facial detail and hair. The trade-off is print time, so we choose layer height by the finest feature that must survive, not by default.
- Hollowing and drain holes. Large solid resin sections cure with more internal stress and cost more material. Where the geometry allows, we hollow the part and place drain holes in hidden locations such as the underside of the base plate, so uncured resin does not stay trapped inside.
Small details need an engineering check as well. A thin strap or a corrugated tube must be thick enough to survive washing, curing and sanding, so we review minimum wall thickness and feature size on the model before it goes to the printer.
Post-processing: where finish quality is decided
Raw resin parts are not finished parts. Skipping or rushing any step below shows up in the paint.
- Wash. Isopropyl alcohol (or the resin manufacturer’s recommended solvent) removes uncured resin from the surface and from fine recesses. Over-soaking can soften or crack some resins, so wash time is controlled.
- Dry and post-cure. Complete drying before UV curing prevents a tacky or hazy surface. Post-curing brings the part to its rated mechanical properties and stabilizes it so it does not keep changing under the coating.
- Support removal. Supports are cut flush while the part is handled gently. Contact points are then dressed with files and fine abrasives.
- Progressive sanding. We work up through finer grits to even out support marks and any faint layer transitions, stopping before sanding starts to soften the detail that SLA delivered, such as hair and facial lines.
- Inspect and fill. Under raking light, small pits and seams show up. Filler primer or spot putty closes them, and the area is sanded back.
The guiding rule is that paint does not hide defects. A glossy or metallic finish reflects light like a mirror, so every scratch and ripple under it becomes more visible, not less.
The automotive paint finish
The bust was finished in automotive paint, here a metallic gold, using the same layered logic a body shop uses. Automotive coatings are formulated for adhesion, uniform film build and long-term durability, which is why they suit a piece meant to sit on a shelf or desk for years.
- Surface prep and primer. The part is cleaned of sanding dust and oils, then coated with a primer compatible with cured photopolymer. Primer gives the topcoat something to grip and shows any remaining flaws before color goes on.
- Base coat. Several thin, even passes build the metallic color. Thin coats matter on detailed parts: a heavy coat pools in recesses and softens the very features SLA was chosen to capture. Metallic flakes need consistent spray distance and overlap to avoid blotchy or striped areas.
- Clear coat. A protective clear layer seals the color, adds depth and resists handling wear. Gloss level is a design decision: a satin clear preserves a cast-bronze look, while a high-gloss clear looks more like polished metal.
- Cure and rest. Coatings are allowed to fully cure before the piece is handled or mounted, so fingerprints and dust do not become permanent.
The finish also hides the fact that the part is resin. Detail depth, shading in the recesses and the highlights on raised surfaces all read as cast metal from a normal viewing distance.
Engineering the base and presentation
A showpiece is judged as a whole object, so the base is part of the engineering. The bust sits on a matte black pedestal with a gold-finished plinth, a contrast that keeps the eye on the sculpture and ties the base to the bust’s color.
Three practical points guide the design of a base like this:
- Fit and registration. The bust’s own base plate seats on the pedestal, and a recessed or marked landing area keeps it centered and stops it sliding.
- Stability. A wide, low-profile pedestal lowers the center of gravity so the piece does not tip if bumped on a desk or shelf.
- Space for recognition. A flat panel on the pedestal front is left clear for an engraved plate, logo or dedication, which is what turns a model into an award, memorial or corporate gift.
Matching the coating on the plinth and the bust means the whole piece reads as one designed product rather than a print on a stand.
Frequently asked questions
1. Why use SLA instead of FDM for a showpiece like this?
SLA resolves much finer detail and produces a smoother surface straight from the printer. For faces, hair and small mechanical features, that means less filling and sanding before paint. FDM is better suited to large, functional parts where fine surface detail is less important.
2. Can automotive paint be applied directly to a resin print?
Not reliably. The part needs washing, full post-curing, sanding and a compatible primer first. Skipping prep is the most common cause of poor adhesion, visible support marks and uneven color.
3. How durable is a painted SLA part?
With a proper primer and clear coat, the finish resists everyday handling and dusting well. Photopolymer resins are more brittle than many engineering plastics, so a showpiece should be treated as a display object, not a part that takes impacts. Keep it out of prolonged direct sunlight and away from solvents.
4. Does painting hide the fine detail of the print?
It can if the coats are too heavy. We apply several thin coats so paint does not pool in recesses. Done properly, the finish adds depth and highlights to the detail rather than softening it.
5. Can you recreate a custom subject, such as a person, a product or a logo?
Yes, provided we have a suitable 3D model or enough reference material to build one, and the right to reproduce the subject. We review the geometry for printability first, then choose size, orientation, finish and base to match the purpose, whether that is an award, a gift, a prototype presentation or a memorial piece.
Ready to build yours?
If you have a showpiece, award or presentation model in mind, send us your files or reference material. 3D Vector will review printability, recommend a finish and quote the full process from print to painted, mounted piece.