
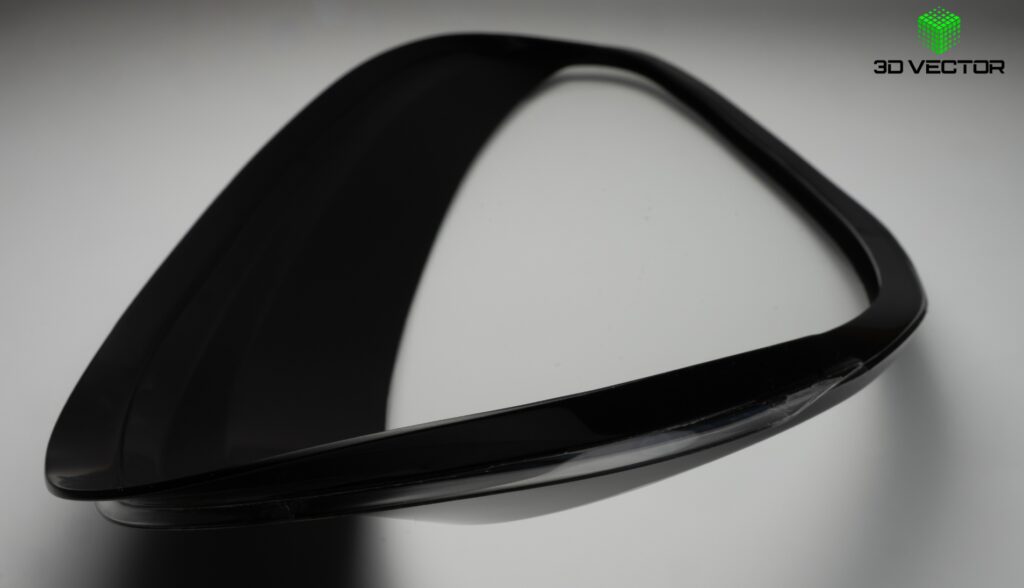
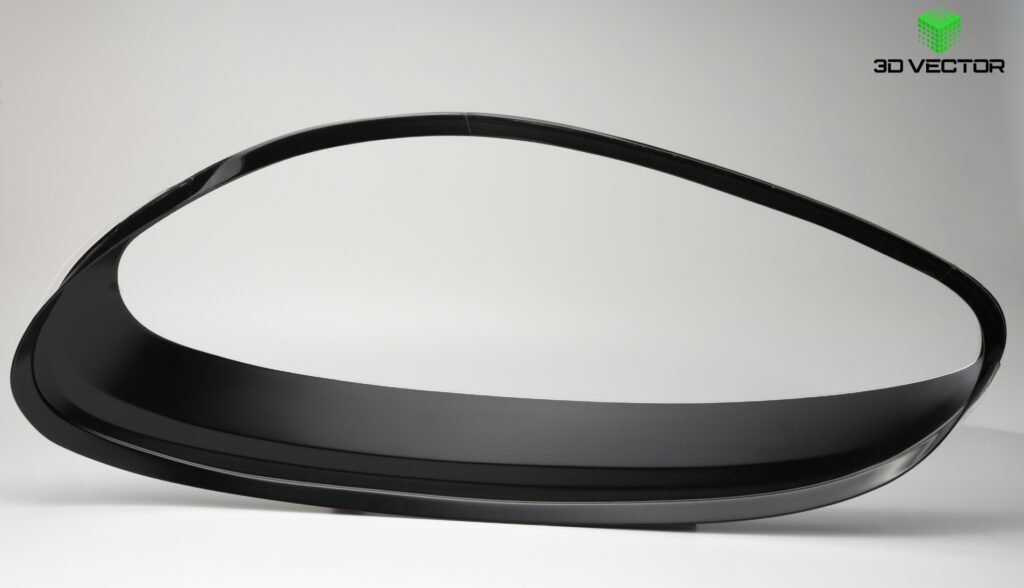
At 3D Vector, we’re often asked to combine show-car aesthetics, tight dimensional control, and production-like assembly features without the long lead times and tooling costs of injection molding. One technology that consistently delivers on this brief is vacuum casting, and for complex lighting components such as car headlight lens covers, we enhance it further with overmolding. The result is an optically clear lens with an integrated black rim or bezel, ready for fit checks, lighting trials, and design validation.
Below is a deep dive into how we engineer and manufacture overmolded headlight lens covers using vacuum casting, the material and design choices involved, and where this approach fits in the automotive product lifecycle.
What Vacuum Casting Is and Why It Excels for Lighting
Vacuum casting is a polyurethane (PU) casting process that uses silicone rubber molds built around a high-quality master pattern (usually CNC-machined or SLA-printed). The steps are straightforward:
- Master creation: We produce a dimensionally accurate master with a surface finish that matches the desired lens quality. For optical parts, SLA masters allow crisp detail and smooth surfaces.
- Silicone tool making: The master is encapsulated in silicone. After cure, the master is removed, yielding a cavity that faithfully reproduces its geometry and texture.
- Degassing and casting: Two-part PU resin is mixed, vacuum-degassed to remove microbubbles, and poured into the silicone mold under vacuum to capture fine features and avoid trapped air.
- Thermal cure & demold: The cast part cures (often at elevated temperature), is demolded, trimmed, and post-processed.
Why this matters for headlight lenses:
- Silicone molds capture fine surface detail, enabling optical clarity when combined with correct resins and finishing.
- PU systems come in clear, tintable, and pigmented grades, letting us simulate production PC/PMMA transparencies and the deep blacks often used for masking and bezels.
- Lead times are short (molds in days, parts in hours), ideal for rapid prototypes, design iterations, and short-run builds.
Overmolding with Vacuum Casting: Two Materials, One Integrated Part
Overmolding means molding one material directly onto (or around) another so the two bond into a single assembly. For headlight lens covers, we commonly pair:
- A clear, rigid cast polyurethane for the lens body (high clarity, smooth optics).
- A black cast polyurethane (rigid or slightly elastomeric) for the rim/trim—the “blackout” portion that hides internal structures, improves contrast, and frames the lens for a production look.
There are two primary routes:
- Route A (Lens-first): Cast the clear lens first, then return it to a secondary mold where the black bezel is overmolded.
- Route B (Bezel-first): Cast the black frame first and overmold the clear lens afterwards.
We choose the route that best protects optical surfaces and yields the sharpest paint-line equivalent. Silicone tooling allows us to integrate mechanical locks (micro undercuts, dovetails, and keys) that improve adhesion and positional accuracy between the two materials.
Material Choices for Optical Quality and Durability
Polyurethanes for vacuum casting come in many chemistries. For headlight lenses and bezels, we prioritize:
- Clear, optical-grade PU:
-
- High transparency and low haze after finishing.
-
- Sufficient heat resistance for lighting tests.
-
- Good compatibility with hardcoats/clearcoats to boost abrasion and UV resistance.
- Black PU for overmold:
-
- Deep, uniform pigmentation to prevent stray light and reflections.
-
- Tunable stiffness (rigid for crisp edges; slightly elastomeric if the joint needs compliance).
-
- Paint-free “mold-color” finishes for repeatability, or paint if a specific gloss/texture is required.
Coatings & additives: Because urethanes are not inherently as UV-robust or scratch-resistant as injection-molded polycarbonate, we often apply UV-stable clearcoats and optional hardcoats (polysiloxane or acrylic-based) to protect clarity, resist yellowing, and improve abrasion performance. Anti-fog or hydrophobic coatings can be specified for specific test environments.
Design for Vacuum Casting & Overmolding
To get production-like results from a silicone tool, design details matter:
- Wall thickness: Keep lens walls as uniform as possible to minimize sink and optical distortion; local variations are reinforced with ribs and bosses rather than bulk.
- Draft and radii: 0.5–1.0° draft on non-optical walls improves demold; generous radii reduce stress and flow lines.Optical faces can be near-zero draft but may require more careful demold strategies.
- Gates & vents: We position gates in non-critical, non-optical regions and design venting to avoid bubble traps in corners, flanges, and emblem recesses.
- Overmold interface: Add mechanical interlocks (micro-ribs, steps, or pockets) to improve bond strength between the clear and black materials without visible witness lines.
- Mounting & sealing features: Integrate clip bosses, screw towers, and gasket grooves so the prototype assembles like a production unit—critical for realistic fit, wind noise checks, and water ingress tests.
- Masking strategy: If the black “mask” must be ultra-crisp, we design hard edges in the tool that create paint-line-like transitions or use dedicated mask inserts for repeatable edges.
Finishing for Optical Performance
Clear parts demand fine finishing:
- Precision trimming: Remove flash with controlled fixtures to protect optical faces.
- Progressive sanding & polishing (if needed): From micro-abrasives to compound polishing to achieve low haze and high transmission.
- Clearcoat / hardcoat: Applied in controlled conditions for consistent thickness, gloss, and durability.
- Cleaning & handling: Lint-free protocols and anti-static measures to keep dust off coated surfaces.
For the black overmold, we can use mold-in color (no paint required) or apply automotive-grade paints (matte, satin, or gloss) to match your brand’s lighting signature.
Quality Checks We Run at 3D Vector
- Dimensional inspection: Critical datums, flange flatness, and hole locations verified against CAD.
- Optical checks: Visual transmission and haze assessments; inspection under controlled lighting to spot flow lines or inclusions.
- Assembly fit: Trial builds with housings, reflectors/projectors, and seals to ensure clip-in and compressive features work as intended.
- Thermal & environmental screening (as specified): Short-cycle tests to observe coating behavior, seal retention, and cosmetic stability.
Where Overmolded, Vacuum-Cast Lenses Fit Best
- Design verification & show cars: Produce production-looking lenses early, validate styling, and impress stakeholders.
- Aerodynamic and packaging studies: Confirm how external surfaces marry with body panels and how internal light modules package behind the lens.
- Lighting R&D: Explore mask geometries, light signatures, and LED module layouts before committing to hard tooling.
- Low-volume specialty builds: Concept fleets, marketing vehicles, motorsport, and boutique runs that don’t justify injection molds.
A Typical 3D Vector Workflow for Overmolded Lenses
- DFM review: We evaluate your CAD for casting suitability, propose minor tweaks for gating, venting, and overmold locks.
- Master build: SLA or CNC masters with the exact optical and cosmetic quality required.
- Silicone tooling: Single- or dual-cavity tools depending on volume; we plan for the overmold step from the start.
- First shot (e.g., clear lens): Vacuum-cast, cured, trimmed, and lightly finished.
- Second shot (black overmold): The first shot is fixtured into the second mold; black PU is cast to form the bezel/trim.
- Finish: Final polish/coat on optics, paint or mold-color blackouts, and careful cleaning.
- QA & assembly trial: Dimensional checks and a trial build with your housing and modules.
- Iteration (if needed): Rapid updates to masters or tooling features; silicone tools are fast to revise.
Turnaround is measured in days to a few weeks, not months, while still delivering production-like appearance and assembly behavior.
Why Teams Choose 3D Vector
- Lighting expertise: We understand how optics, coatings, and masks interact—so you get lenses that both look right and build right.
- Surface excellence: From the master through to hardcoat, we control every surface that controls light.
- Integrated engineering: We don’t just cast parts; we design interfaces, seals, and fasteners so your prototype functions like the real thing.
- Iterative speed: Multiple lens variants (different masks, tints, or textures) are easy to produce in parallel.
- Risk reduction: Validate design intent and assembly early—before you commit to six-figure tooling.
Practical Tips When Sending 3D Vector Files
- Provide full CAD of the lens, bezel, and housing interface (STEP/IGES).
- Call out critical A-surfaces and optical faces so we can align gating/vents and protect them.
- Specify coatings (hardcoat, anti-fog, hydrophobic) and target gloss for black masks.
- Share test plans (thermal, UV, vibration) if the prototypes must undergo screening; we’ll tailor materials and coatings accordingly.
- If you plan to transition to injection molding, let us know; we can align draft, wall thickness, and bosses with downstream DFM from day one.
Final Words
Overmolding via vacuum casting gives automotive teams a powerful way to realize production-like headlight lens covers—clear optics integrated with black bezels—without the time and capital required for hard tooling. By combining optical-grade PU resins, silicone tooling, and precise overmold interfaces, 3D Vector delivers parts that assemble, seal, and present like the final product, enabling faster decisions and cleaner handoffs to production.
If you need show-quality prototypes, short-run specialty parts, or design validation builds for your lighting program, we’d love to help. Bring us your CAD and requirements, and 3D Vector will take you from concept to road-ready looks in record time.